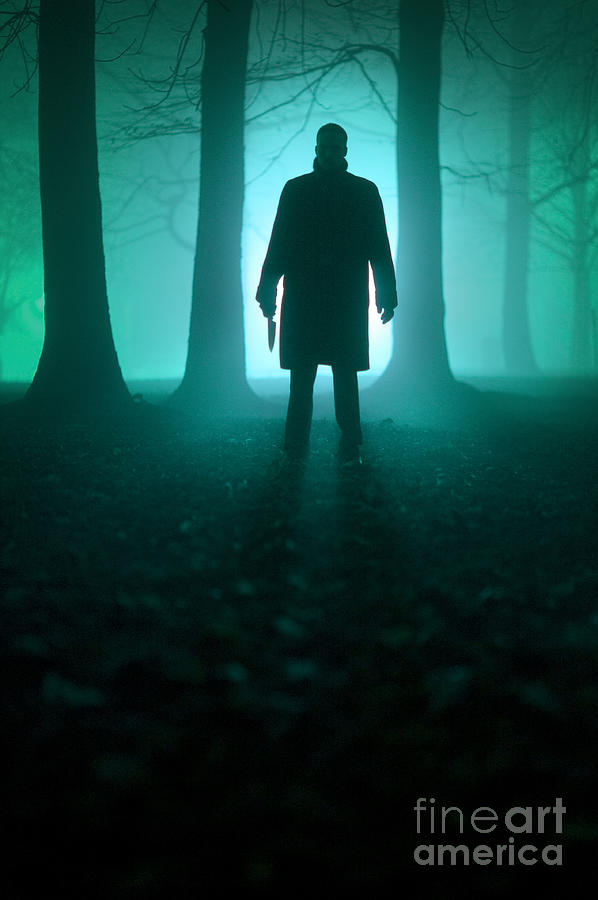
Location of scene: Woods/Main Area Daniel: I can't believe you guys made me come. You know I don't like anything resembling horror. Mario: Don't be such a crybaby, it's just trees and animals. What's the worst that can happen? Mario: Now come on, you and Jayden go find some sticks for the campfire. Daniel: Umm- I guess so. Location of scene: Deeper in woods Jayden: Oh yeah, I probably should have mentioned this before we came along, but there's actually a rumor about this place. Daniel: Excuse me? You're not serious are you? What's the rumor? Jayden: I've heard there have been a lot of disappearances around these woods. Locals says there is some killer hanging his victim on trees. And that you can see the ghosts of the people buried here, haunting the area, making bizarre noises. Daniel: What the heck is wrong with you guys bringing me to ...
The opening credits will appear digitally on the screen, showing up after a cut from each character or location except the title and the director which will appear in the opening itself. The credits for the movie will be shown based on the amount of work done and overall impact to the opening. Our working title is "The black Forest incident" The font we'll be using will be "Impact" with a bright red text to make it distinguishable from the background. When the scene opens the first few titles will be shown, staying for around 5-10 seconds each before fading away, once the action picks up and the camera cuts to a specific character or location there will be two for each section staying and leaving the same as the others The title and "directed by" will be shown in the opening rather than appearing on screen like the other title, near the end carved into the ground, spelt out by a pool of blood or something like that.
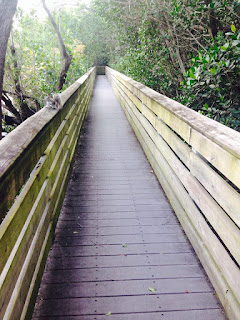
We tried to film over the weekend but were unable to. We decided to make it during the weekend because we were going to be outdoors, and our phones said it would be perfect weather. Unfortunately, the weather app lied to us. Around 10 minutes after arriving it started to rain. At first, it was a light rain so we decided to continue with the filming. But when we finished our first scene it started to rain harder. We hid under a gazebo, waiting and hoping for the rain to calm down. We waited for around 20 minutes then the rain lightened. We thought it would be best to continue before it picks up again. We had to set up the tent again because when it started raining heavily Mario was afraid of the tent getting wet. After setting it back up I told them we should just film the scenes that involve the tent in case it starts to rain harder again. Long story short, it ended up raining again before we were able to do anything. We’re rescheduling the rest of our filming potent...


.jpg)
Comments
Post a Comment